Workspace settings
Workspace settings allow Owners and Admins to configure how work data is collected, reviewed, and displayed across the organization.
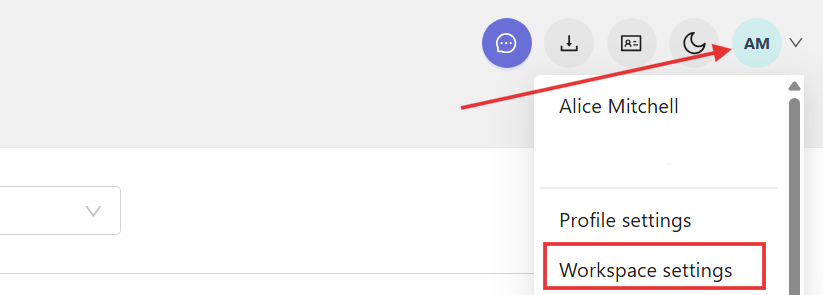
To access workspace settings, click your profile picture in the top-right corner of the web app and select Workspace settings.
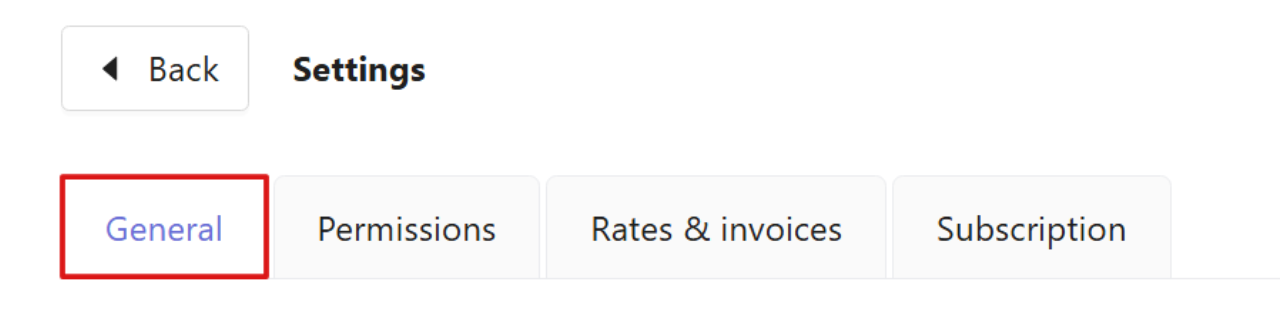
In the new window, open the General tab to view and manage the main workspace settings.
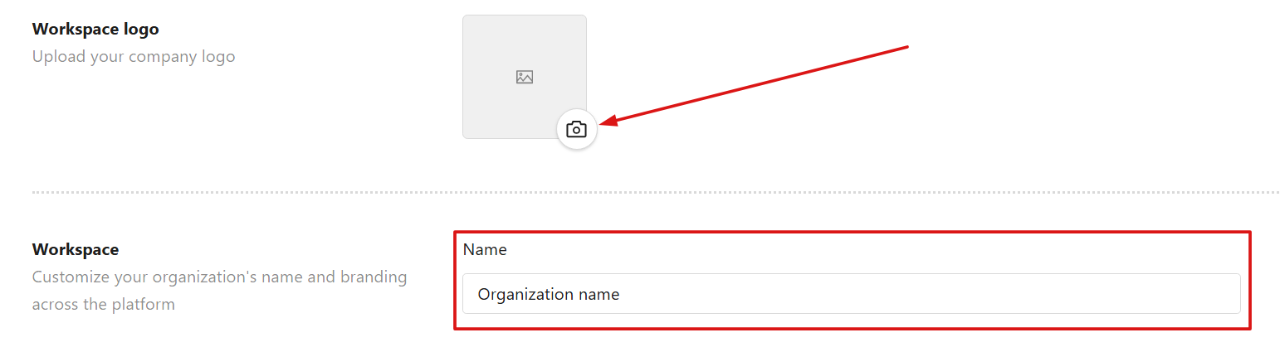
Workspace logo and name
You can enter your organization’s name and add a logo to customize branding across the platform.
Click the camera icon to upload or update your workspace logo.
The organization name field cannot be empty.
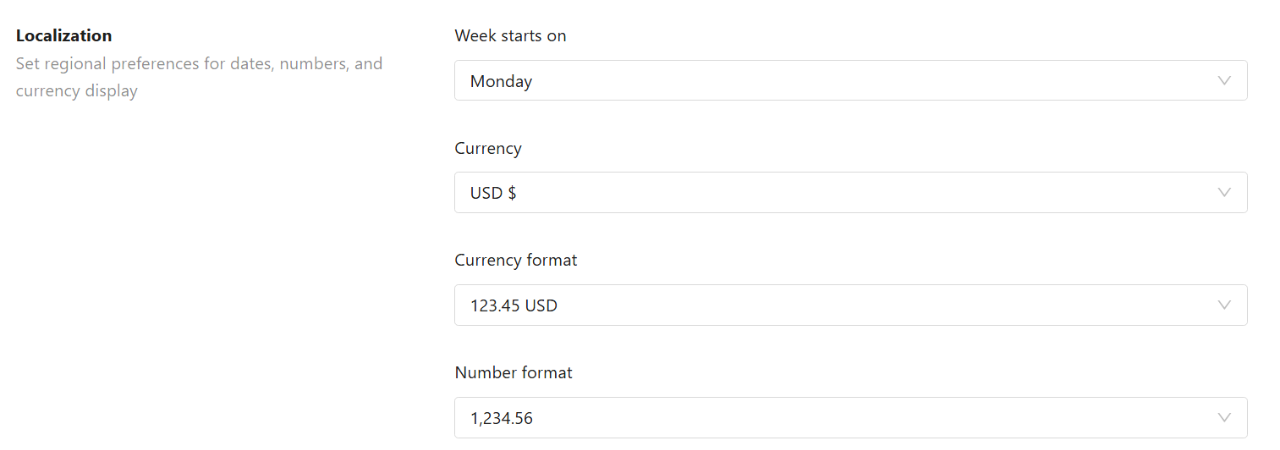
Localization
Localization settings define how dates, numbers, and currency are displayed in your workspace.
You can:
- Choose the first day of the week (for example, Monday).
- Set the default currency used across the workspace.
- Define how currency values are displayed.
- Choose how numbers are formatted across reports and views.
New projects
You can make new projects billable by default, so all newly created projects are automatically set as billable. You can still change this setting for individual projects at any time.

Timesheets
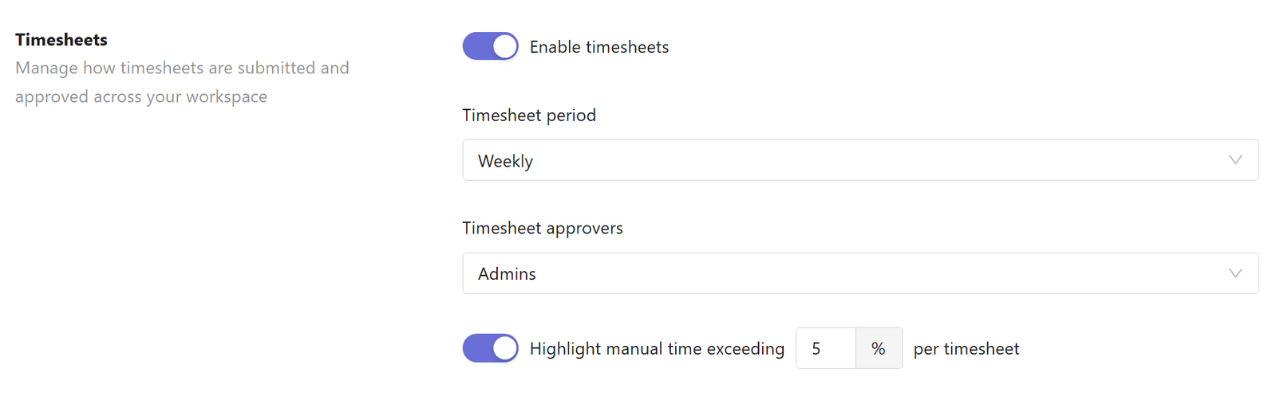
Timesheet settings control how time entries are submitted, reviewed, and approved.
To enable timesheets, turn on Enable timesheets, then configure:
Timesheet period
Choose how often timesheets are submitted (weekly, semi-monthly, or monthly).
Timesheet approvers
Select who can review and approve timesheets (Admins only, or Admins and Managers).
Highlight manual time exceeding limit
Set a percentage threshold to flag timesheets that contain a high amount of manually added time.
Expenses
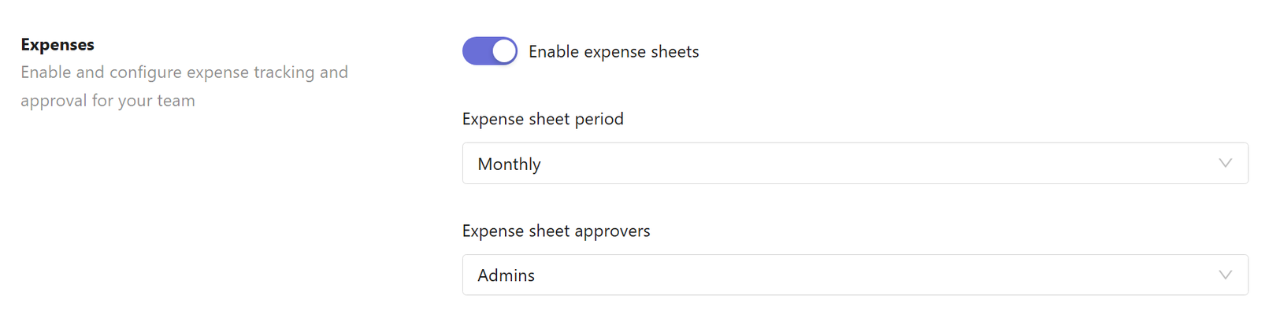
Expense settings allow team members to submit and manage work-related expenses.
To enable expense tracking, turn on Enable expense sheets, then configure:
Expense sheet period
Define how often expense reports are submitted (weekly, semi-monthly, or monthly).
Expense sheet approvers
Select who can review and approve submitted expenses (Admins only, or Admins and Managers).
 Default schedules
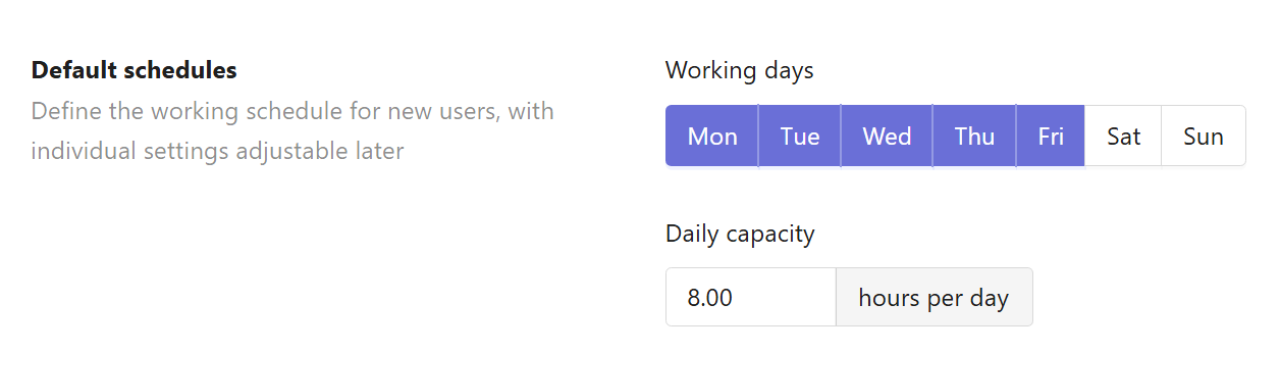
Default schedules define the working schedule for users when individual settings are not configured. Individual settings override the default schedule.
You can configure:
Working days
Select the days of the week when work time is expected to be tracked.
Daily capacity
Set the expected number of working hours per day.
Breaks
Break tracking allows users to log break time separately from working hours.
Turn on Enable breaks to allow team members to record break time.

Permissions
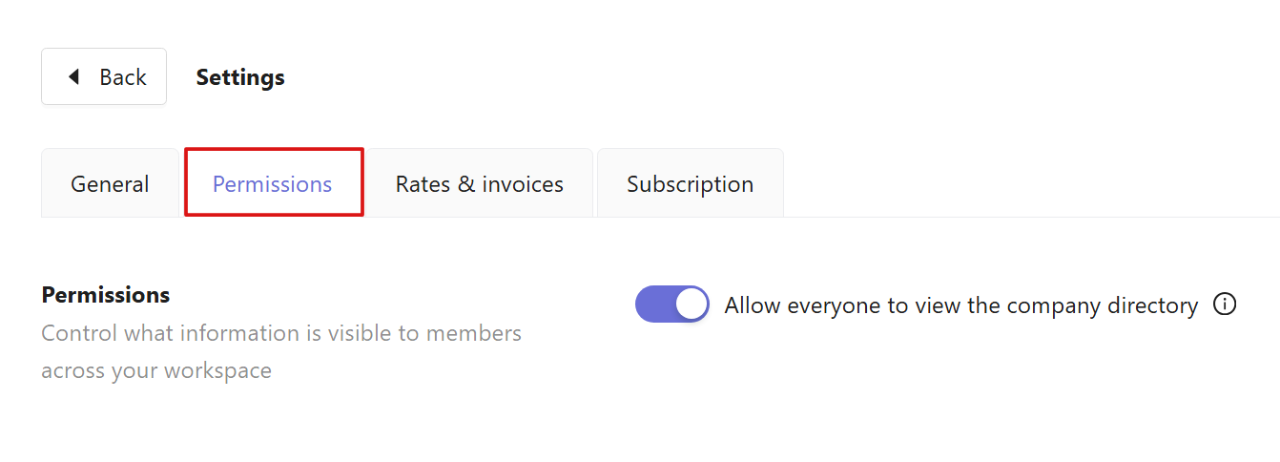
The Permissions tab defines what information is visible to workspace members.
You can enable or disable:
Allow everyone to view the company directory
When enabled, all members can browse the company directory. Profiles include names, profile pictures, and job titles.
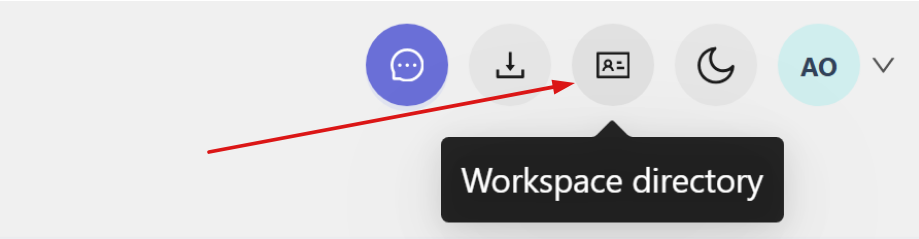
You and your team can access the workspace directory from the top-right corner of the web app.
-
Workspace default rates
- Workspace default rates are used when no personal or project rates are configured.
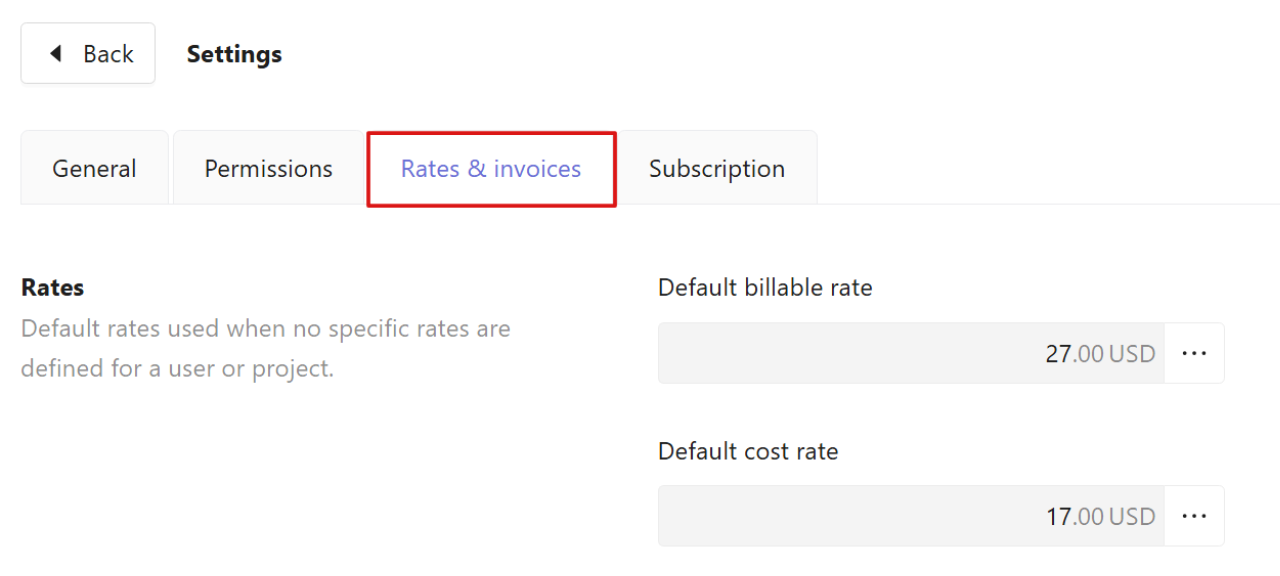
- Open the Rates & invoices tab to view or edit the default billable rate and default cost rate.
Click the three dots next to a rate to add or edit it.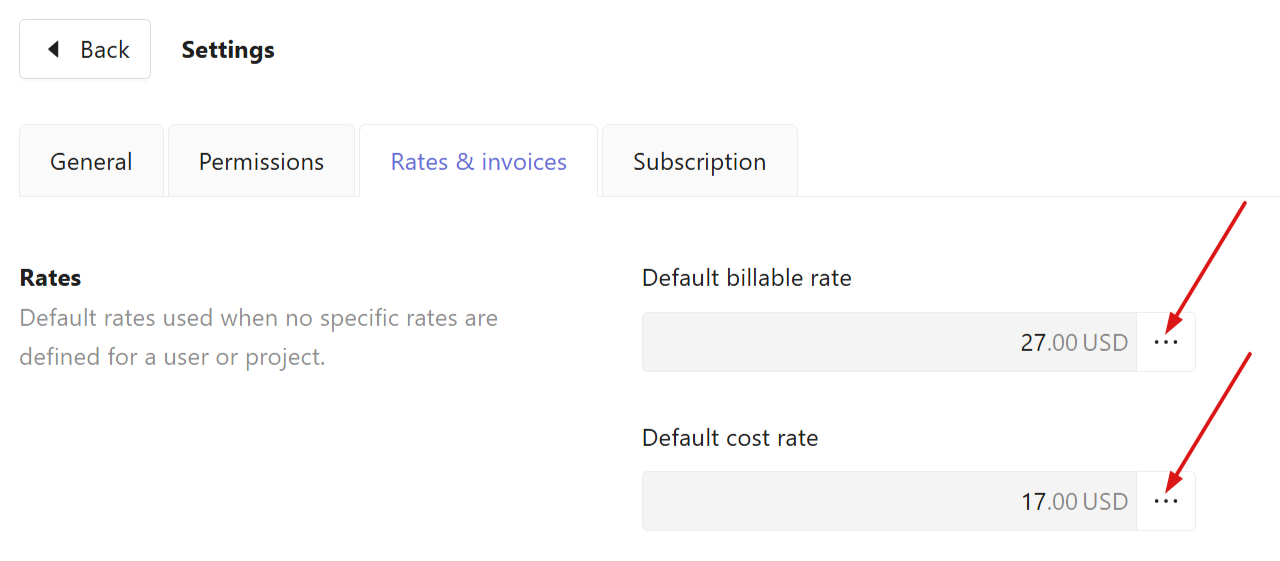
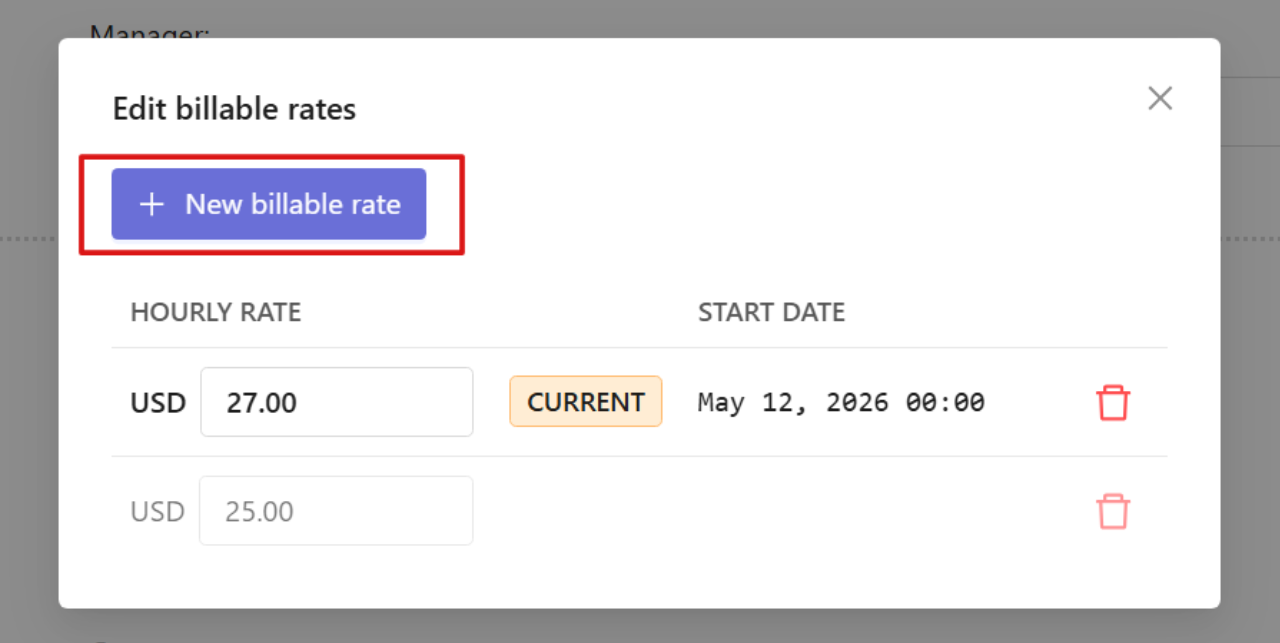
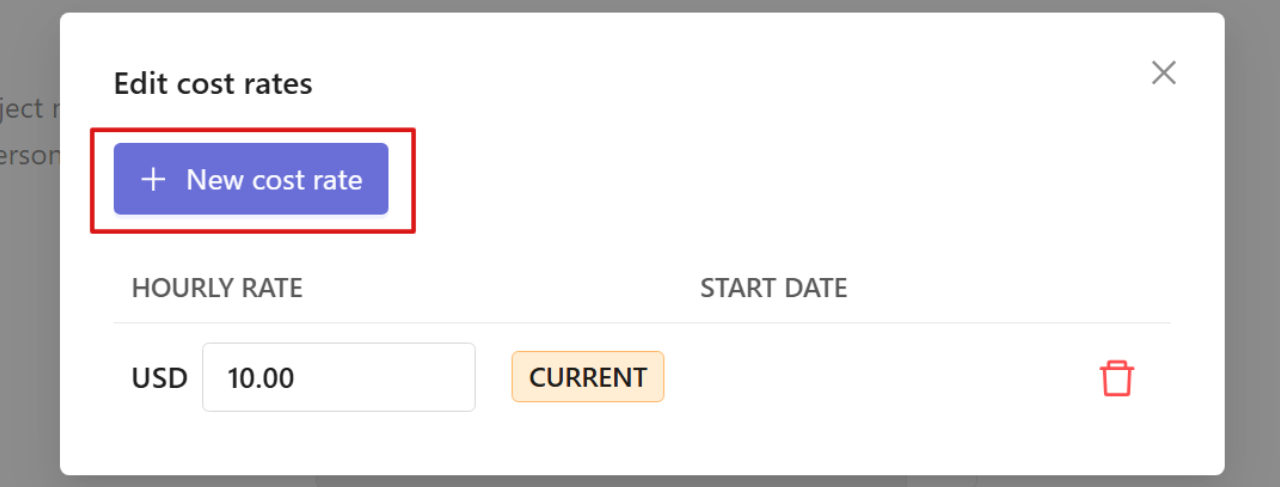
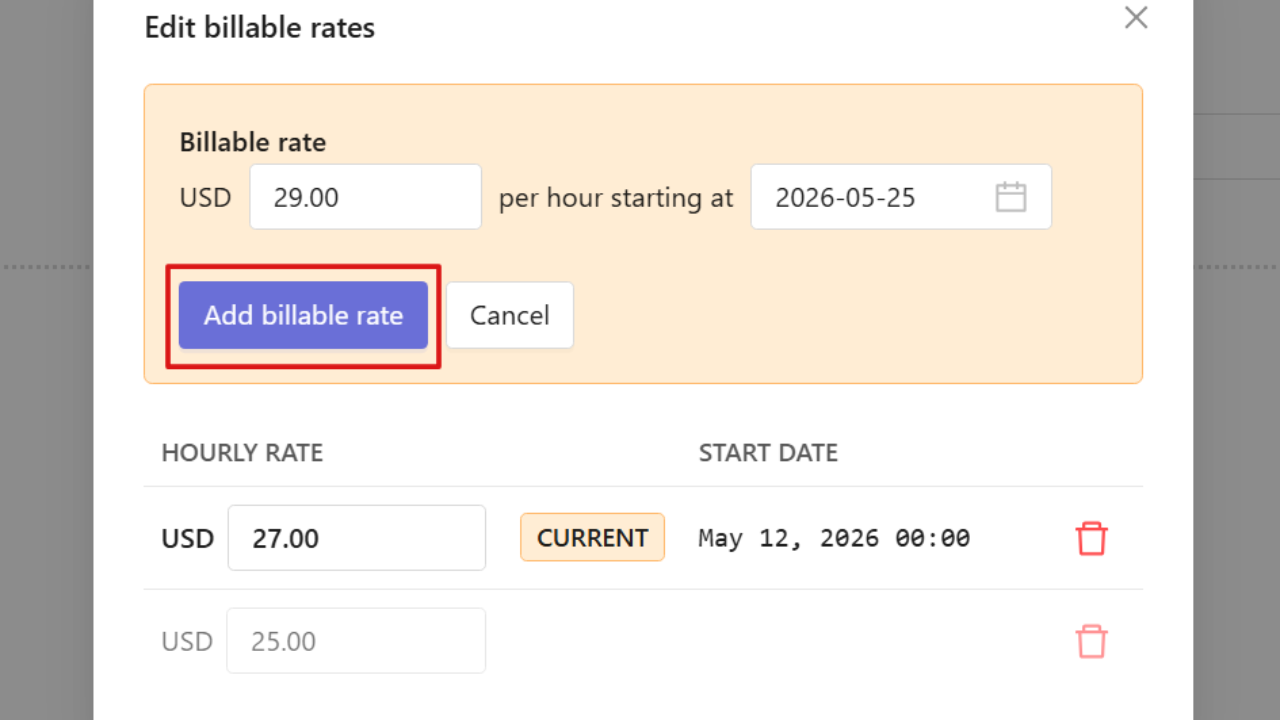
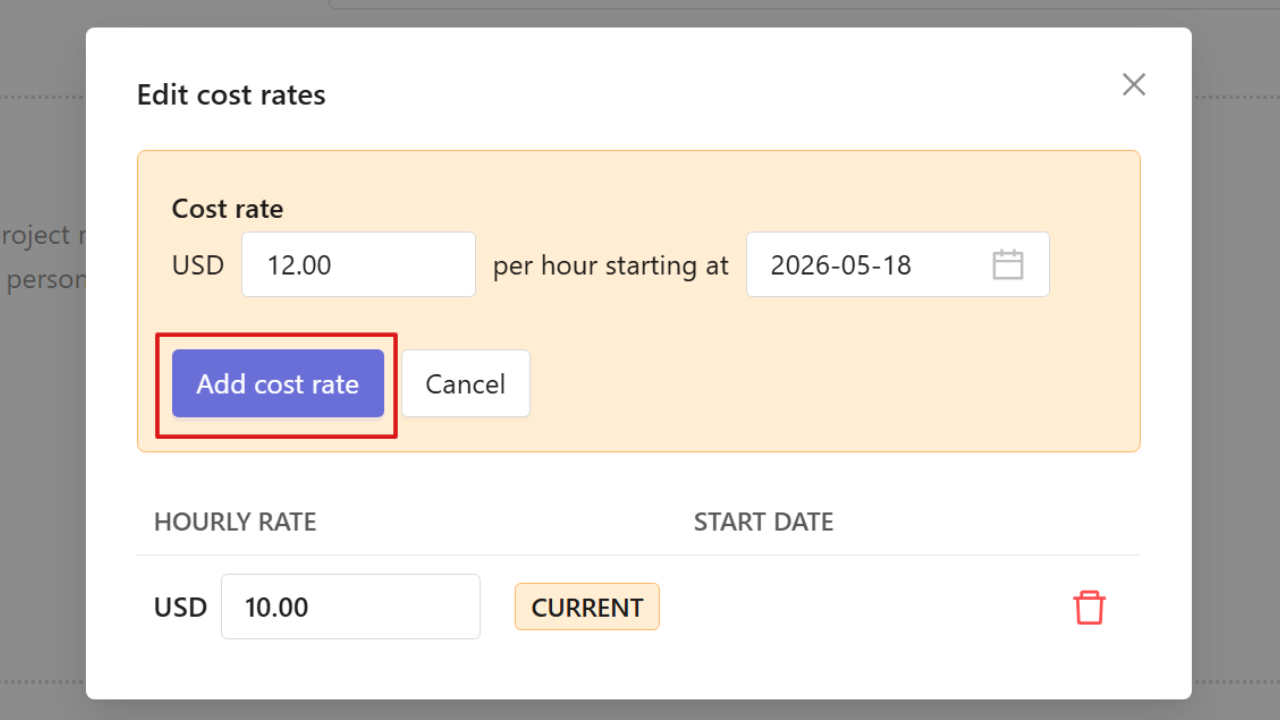
You can add current or future rates and view historical rates if they have not been deleted.To add a new rate:
Select New billable rate / New cost rate.
-
Enter the rate and its start date and click Add billable rate / Add cost rate.
- Traqq automatically applies rates based on their effective dates.