Creating timesheets
Timesheets in Traqq show tracked and manually added time grouped by project and date.
Owners and Admins can view all timesheets across the team, including those that have not been submitted yet. Managers can view timesheets only for users assigned to their projects or teams. Users can view only their own timesheets.
View and create timesheets
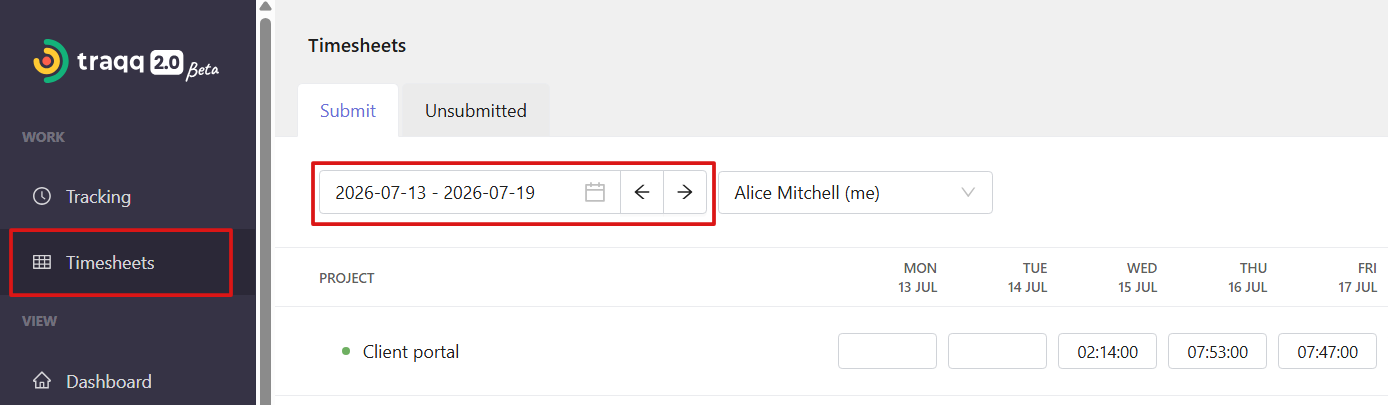
Open the Timesheet tab from the left sidebar and select the date range at the top of the page.
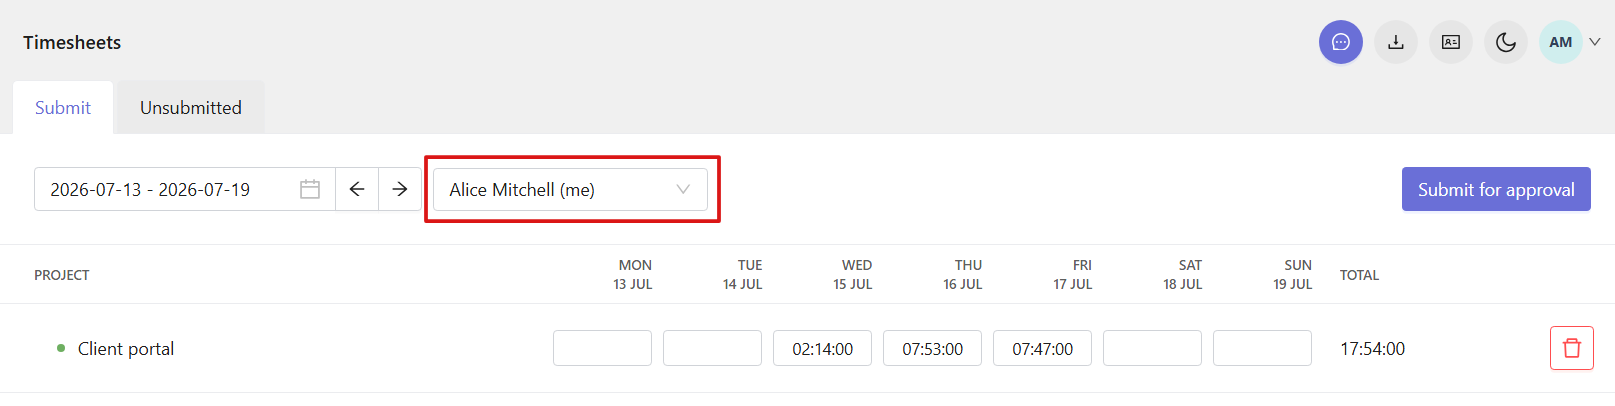
If your role allows it, you can switch between users using the dropdown in the upper part of the page.
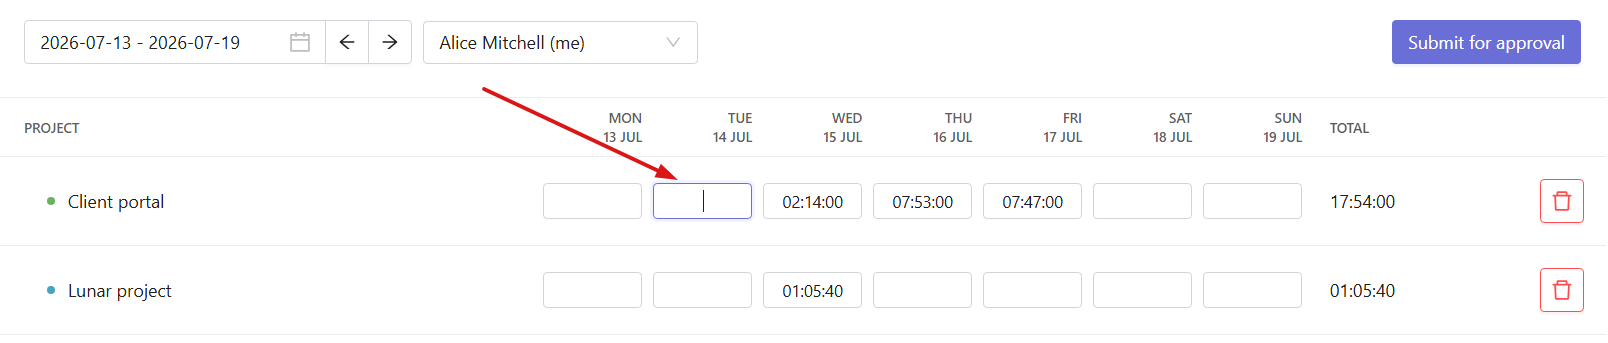
Tracked time automatically appears in the timesheet and is synced with the Time log. You can also add or edit time manually by entering values directly into the timesheet grid for a specific day and project. These entries are also synced with the Time log and marked as manually added.
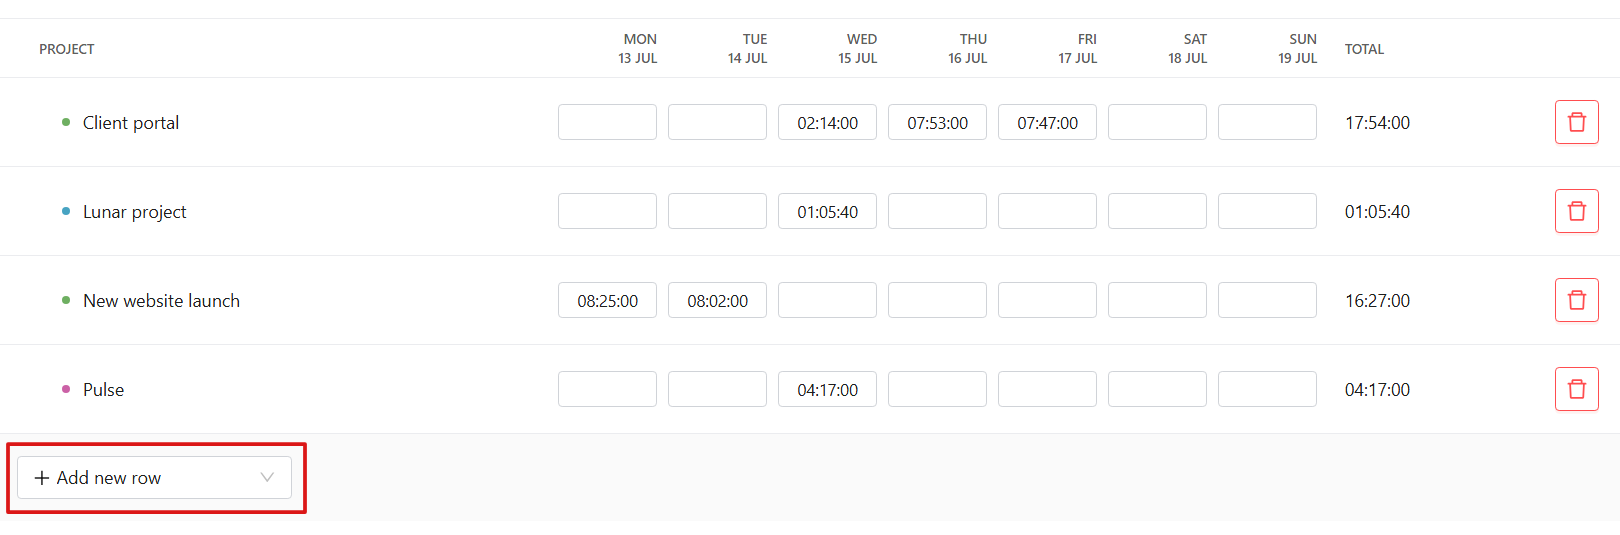
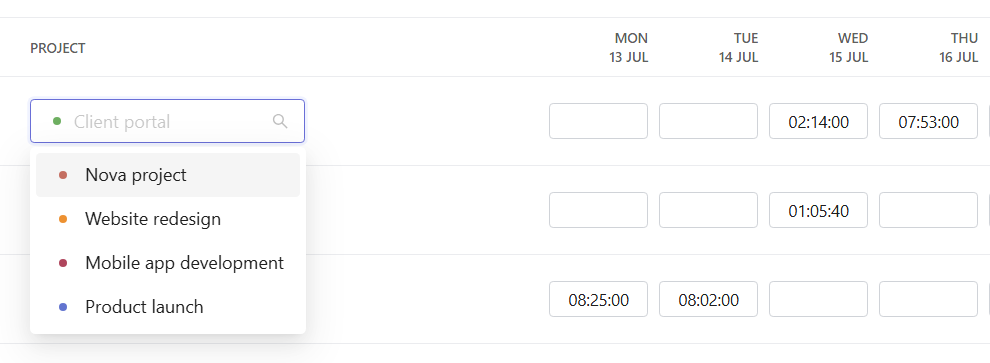
To add another project, click + Add new row. Then select a project name or choose No project if the time is not assigned to any project.
You can also click the project name in the existing row if you need to change it. Note that changes to the project name are also synced with the Time log.
Remove time entries
You can remove time entries in your own timesheets before they are approved or declined. Note that deleting time entries also removes them from the Time log.
Click the grid cell and press the Backspace key on your keyboard to delete the time.

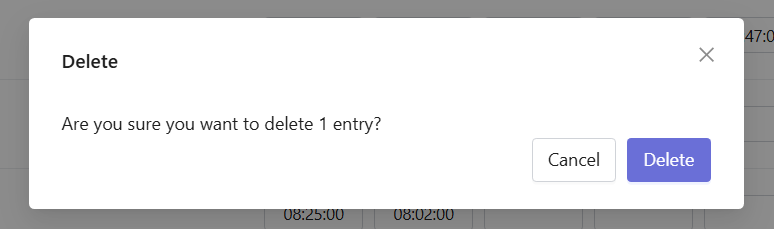
You will see a confirmation window. Click Delete if you still want to delete the time entry.
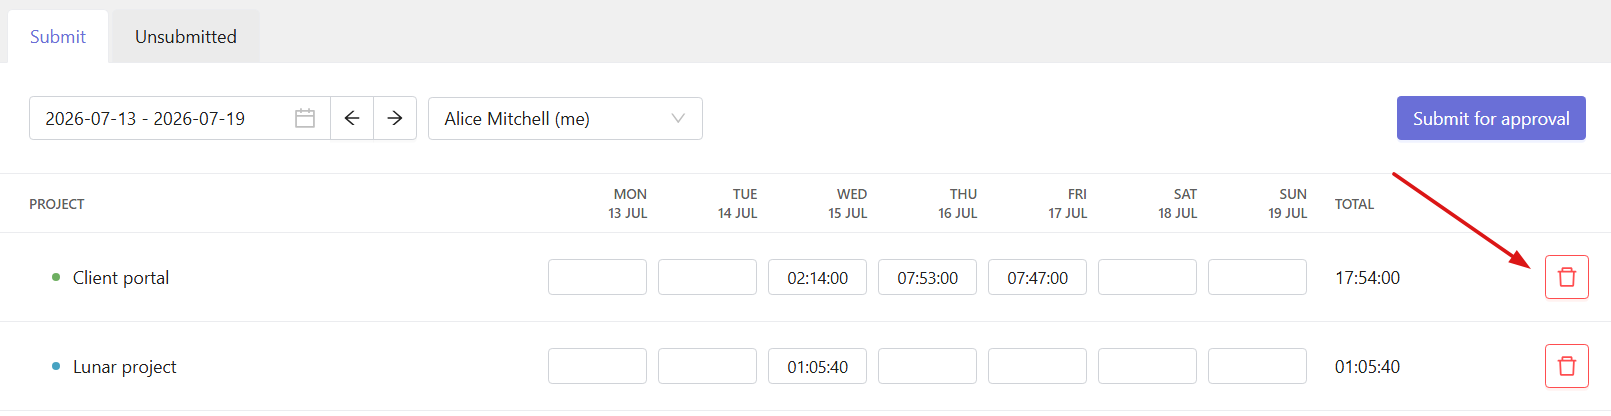
You can also click the trash icon at the end of the row. This removes all time entries for that project row.
Submit or withdraw timesheets
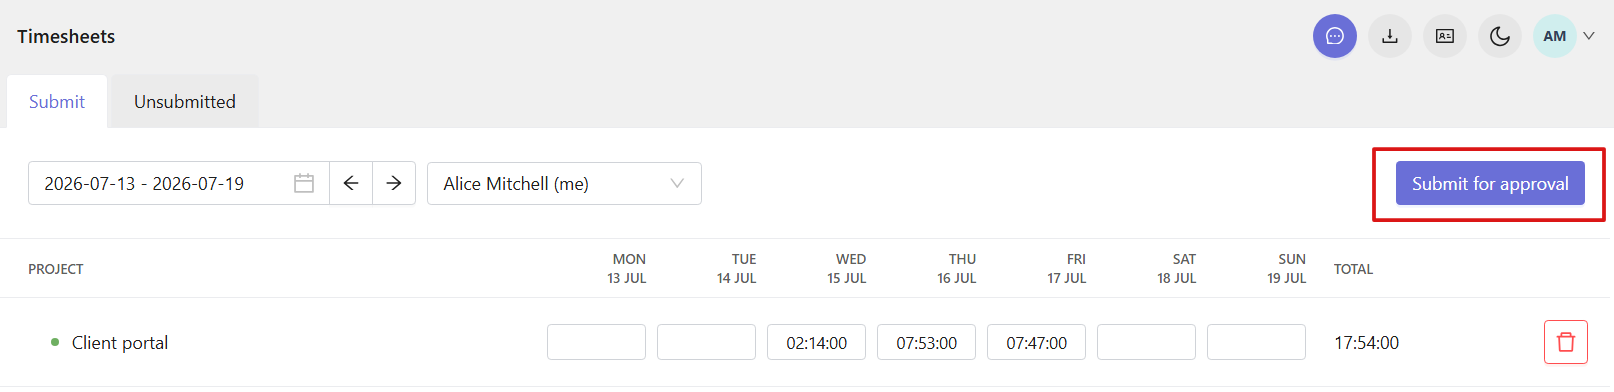
When the timesheet is ready, click Submit for approval in the top-right corner. The system sends it for review and sets its status to Pending.
After that, Owners and Admins (or Managers if timesheet approval is enabled for them) can approve or decline submitted timesheets.
Once a timesheet is approved, its status changes to Approved and no further edits are possible.
If a timesheet is declined, it returns to the user and becomes editable again. The user also receives an email with the decline reason.
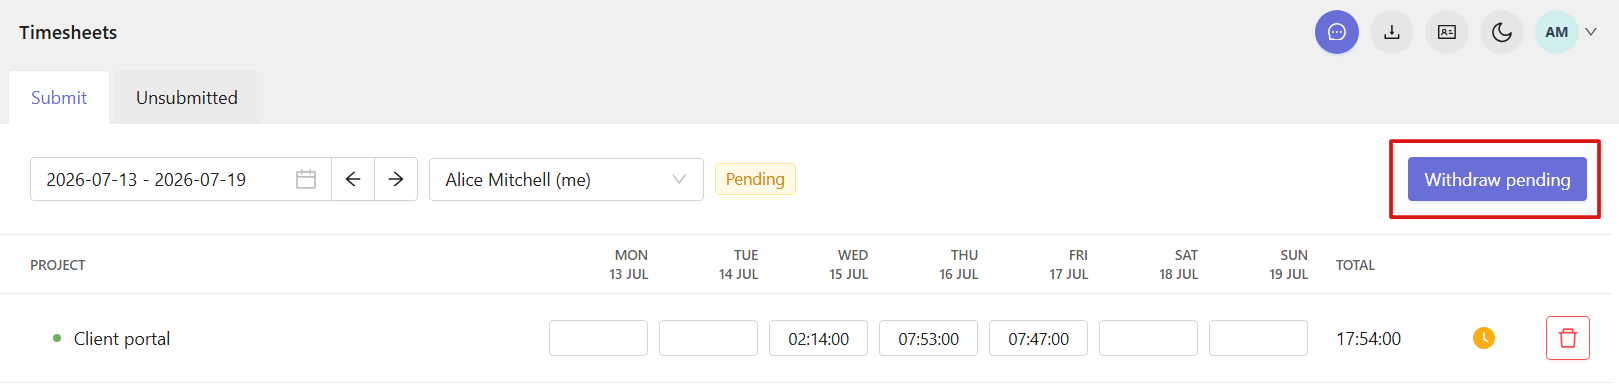
You can also withdraw a timesheet before it is approved or declined by clicking Withdraw pending in the top-right corner.