Creating expense records
The Expenses section in Traqq allows you to record and manage work-related expenses such as travel, transportation, and other reimbursable costs.
You can access the Expenses section from the left sidebar.
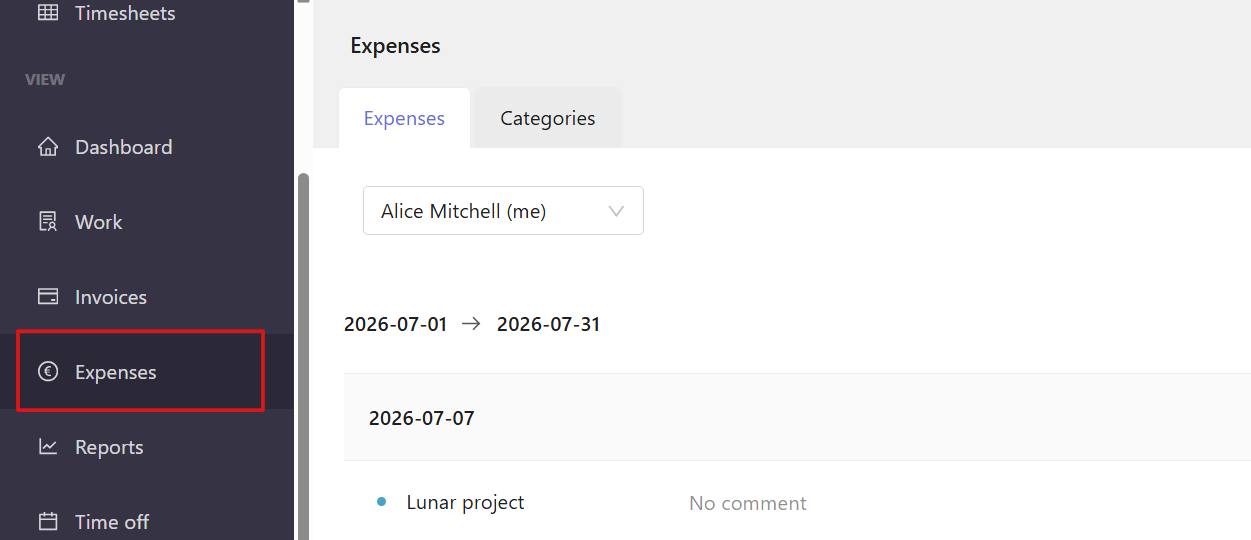
Expenses tab
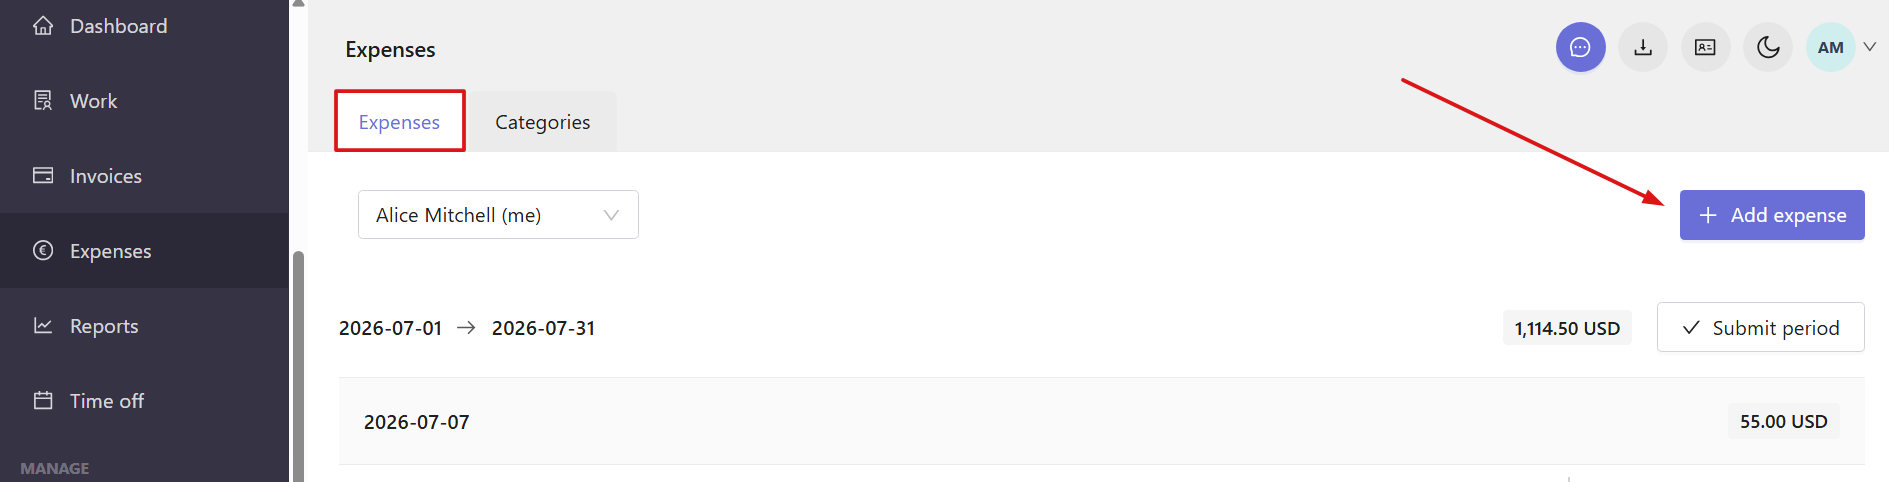
The Expenses tab is where you can view, create, and manage all expense records.
Add a new expense
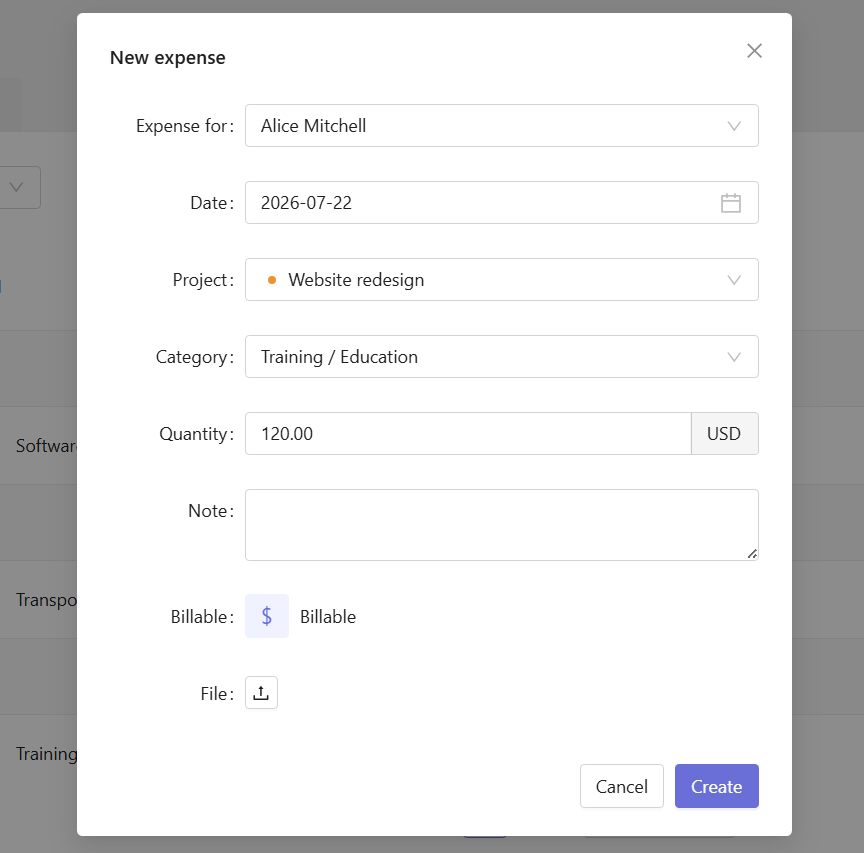
To create a new expense, open the Expenses tab and click Add expense in the upper-right corner.
In the window that opens, fill in the expense details:
Expense for — select the team member
Date — choose the date of the expense
Project — assign the expense to a project
Category — select an expense category
Quantity — enter the amount or quantity
Note — add any additional information
Billable / Non-billable — choose whether the expense should be billed
File — upload a file to support the expense (for example, a receipt)
After entering all details, click Create to save the expense.
Submit expenses for approval
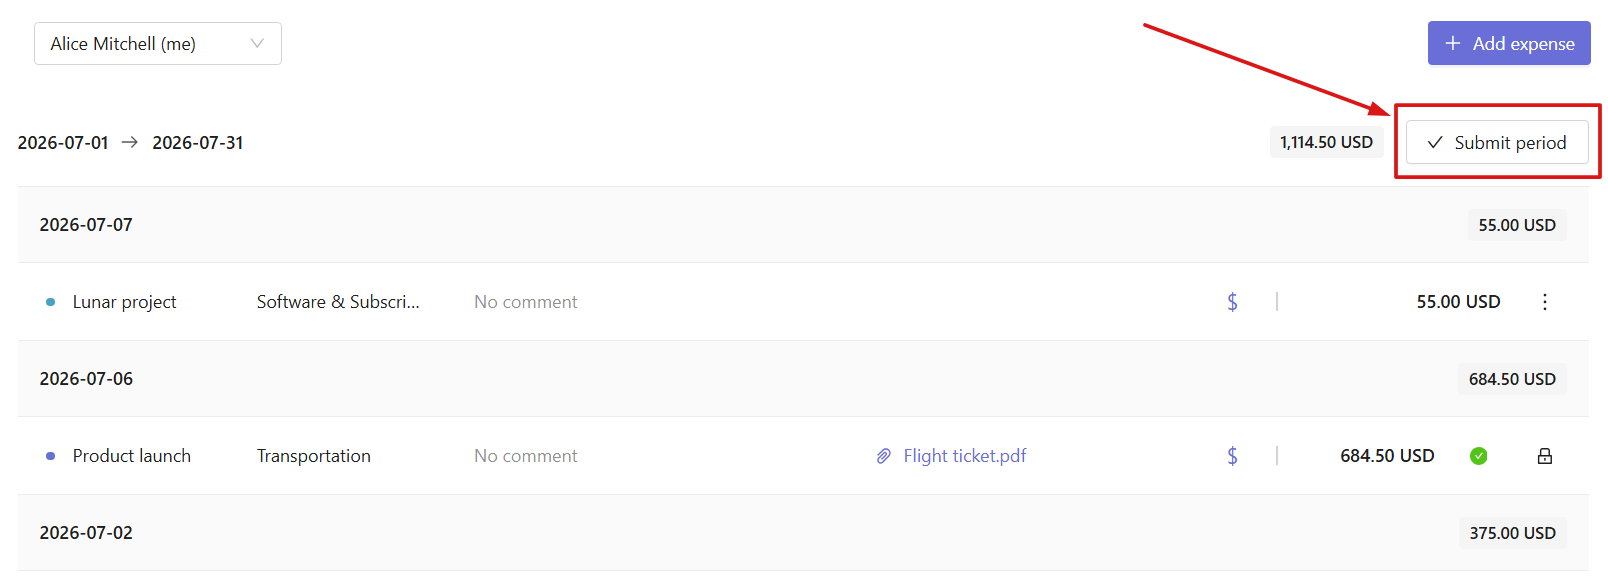
Once an expense is added, you can submit it for approval. To do this, click Submit period. Even if the period has already been submitted, you can still add and submit new expenses for it.
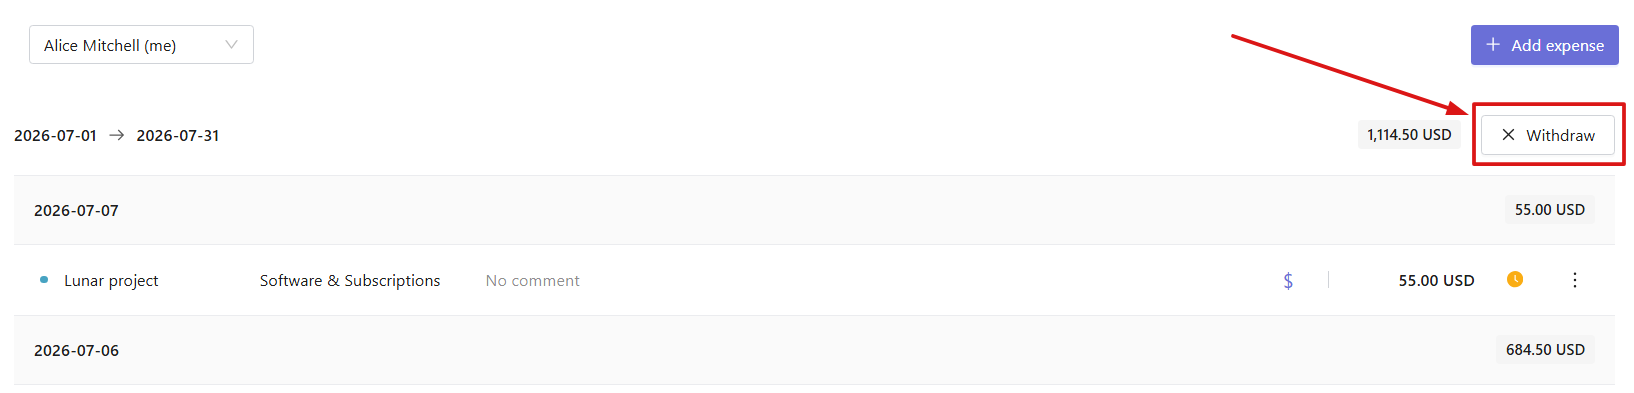
Before an expense is approved, you can withdraw the submission by selecting Withdraw.
Approved expenses get the status Approved and cannot be edited or deleted.

Edit and delete expenses
You can edit or delete an expense before it is approved. To do this, click the three-dot menu next to the expense and choose the relevant option.

Access levels
Access to expenses depends on user roles:
Owners and Admins can view all company expenses and approve them. Select a specific team member from the dropdown in the upper-left corner of the Expenses tab to view their expenses.
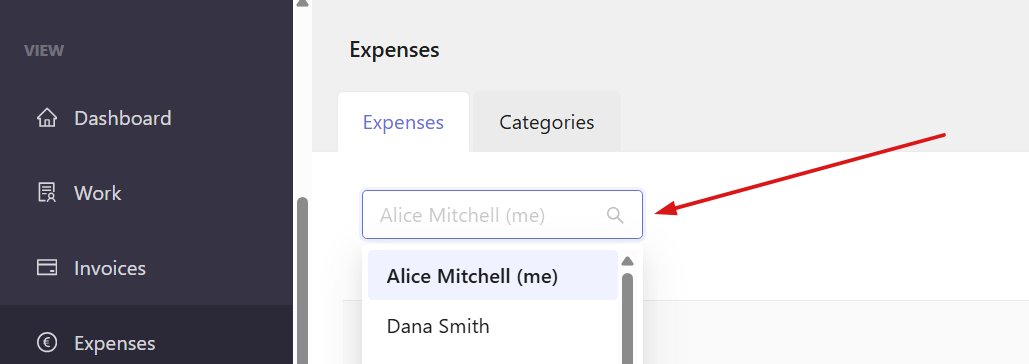
Managers can view expenses for users assigned to their projects or teams. If expense approval is enabled for them in Workspace settings, they can also approve those expenses.
Users can view and manage only their own expenses.
Categories tab
The Categories tab is available only to Owners and Admins. It allows you to manage expense categories used when creating expense records.
Add a category
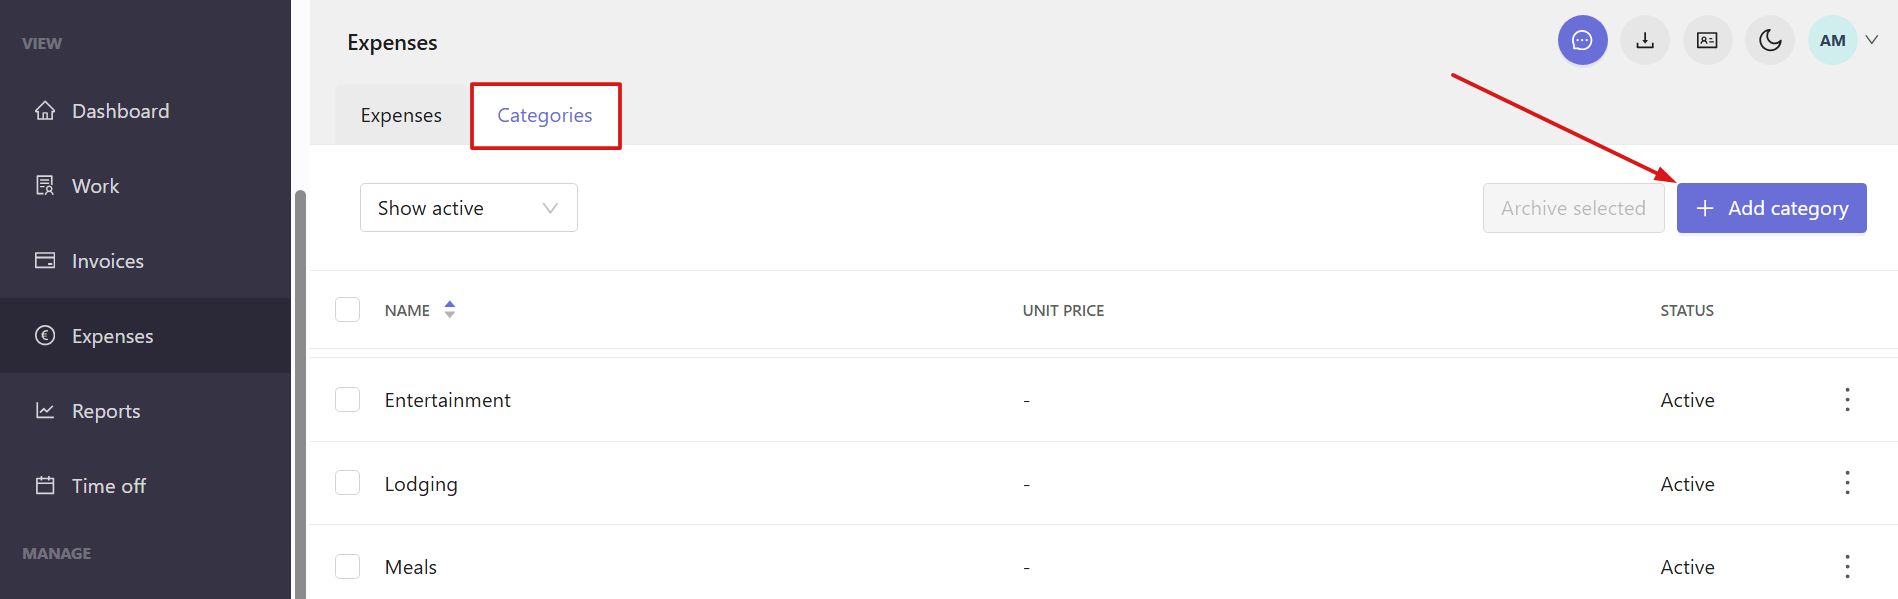
To add a new category, go to the Categories tab and click Add category in the upper-right corner.
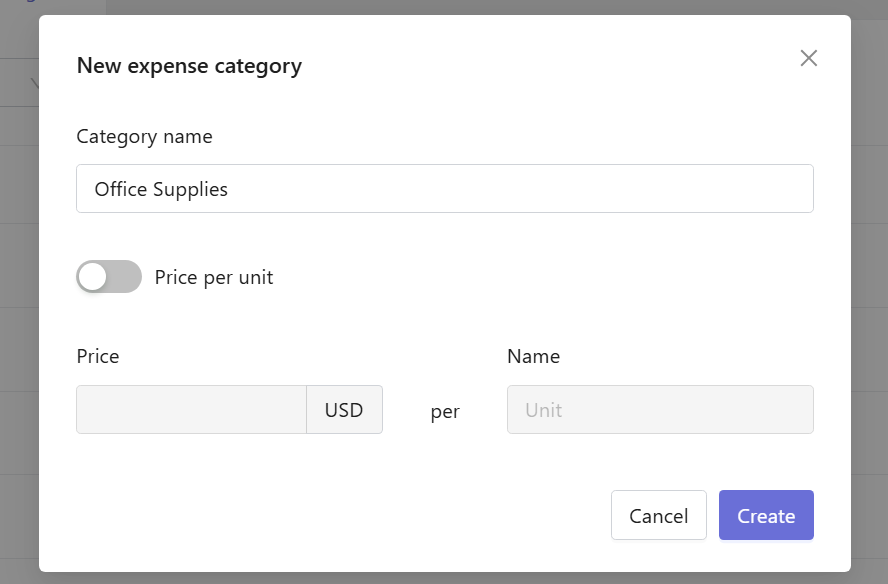
In the window, enter:
- Category name
- Price per unit (optional)
Click Create to save the category.
Manage categories
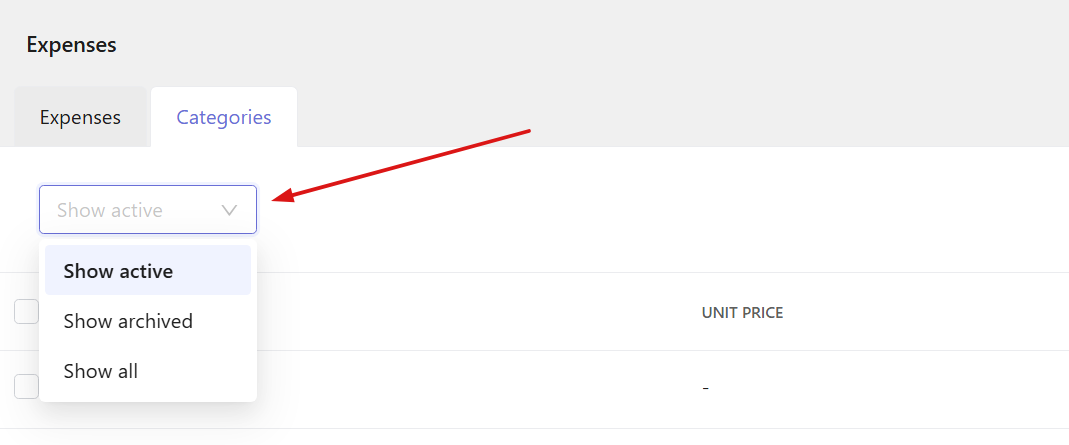
To filter the list, use the dropdown in the upper-left corner to switch between active, archived, or all categories.
You can manage active categories using the three-dot menu next to each category. Available actions include:
- - Edit category details
- Archive category 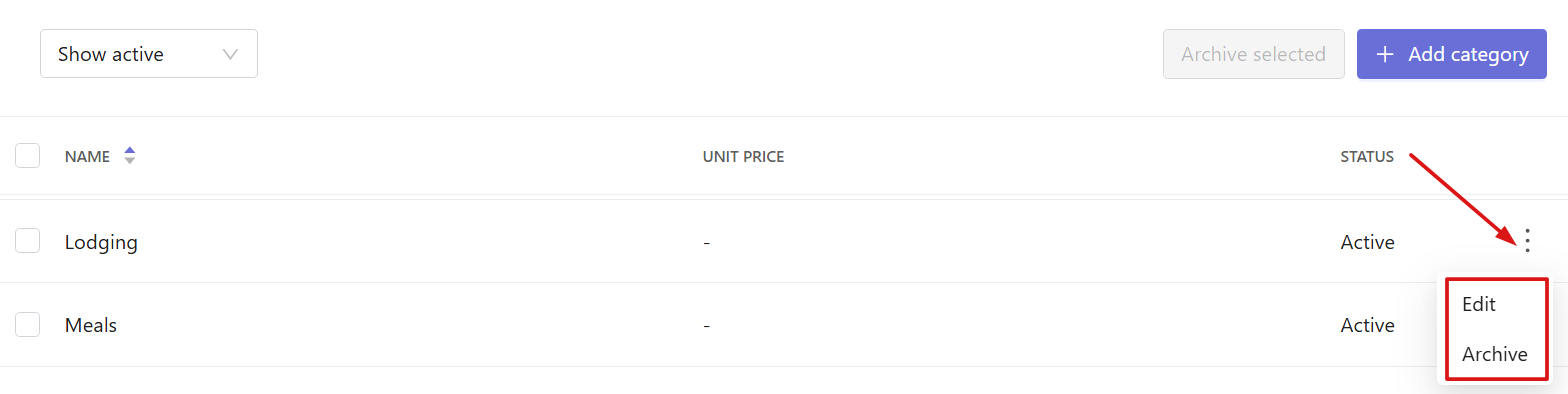
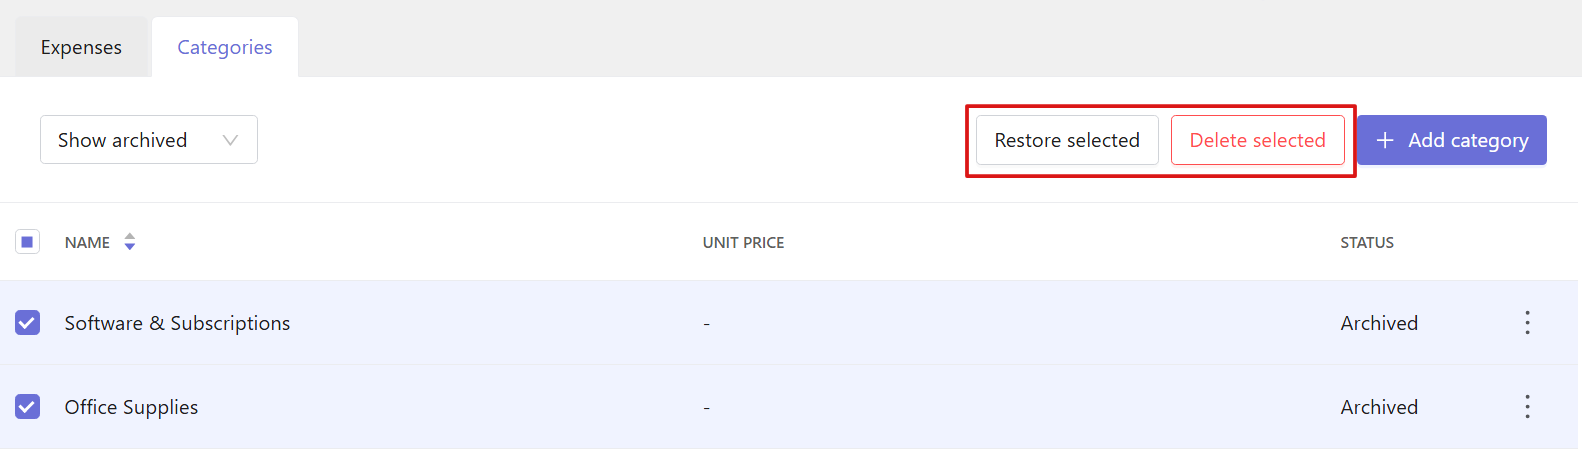
- Archived categories are marked with an Archived status. Filter the list by Show archived to view archived categories.
- You can also:
- - Restore archived categories
- Delete categories permanently 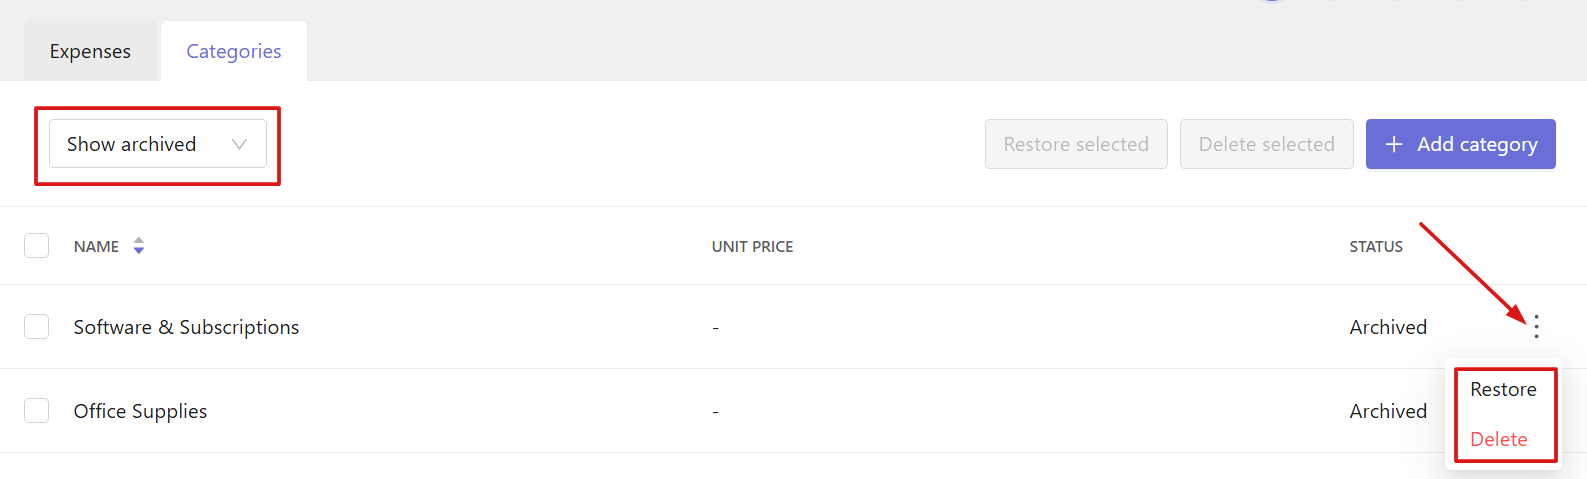
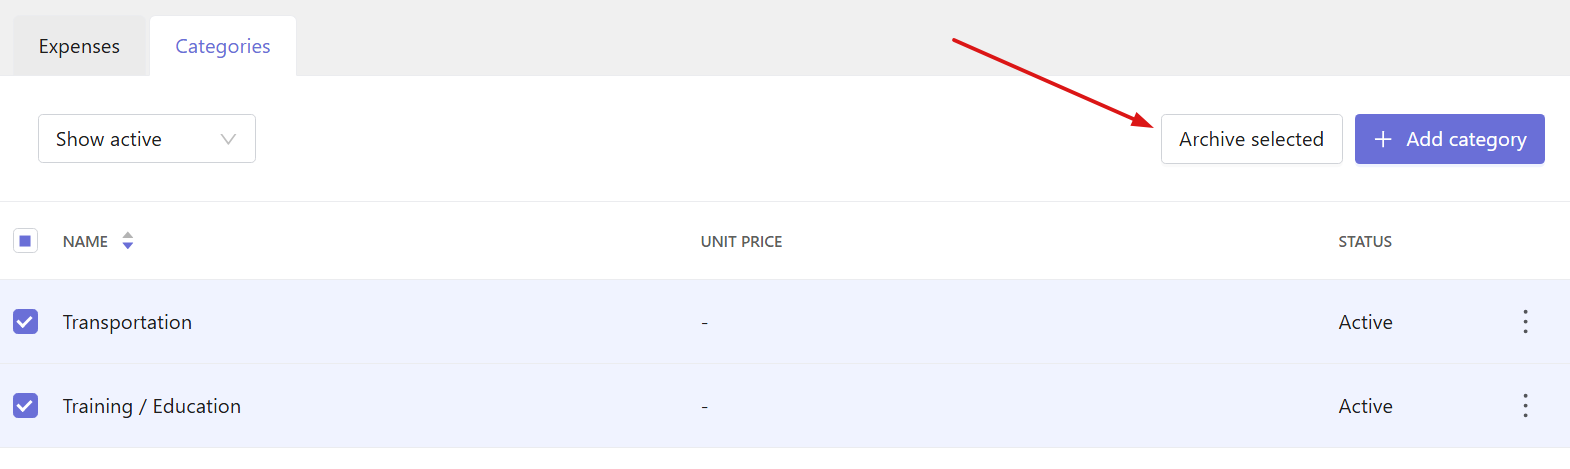
- You can manage multiple categories at once by selecting them and choosing:
- - Archive selected
- Restore selected
- Delete selected