Integrations
The Traqq browser extension lets you track time directly from supported web applications. Once an integration is enabled, you can start tracking from tasks, cards, tickets, and other supported work items without switching to Traqq.
All tracking activity automatically syncs across the Traqq browser extension, web app, and desktop apps, so your timer and time entries stay up to date across all platforms.
Before you start
Before using integrations, make sure you:
- - Install the Traqq browser extension.
- Log in to your Traqq account.
- Enable the integrations you want to use. - Learn more about how to set up your extension and integrations in this article.
-
Supported integrations
- Traqq currently supports the following integrations:
- ActiveCollab
Airtable
Asana
Basecamp
Bitbucket
Canva
ClickUp
Confluence
Figma
GitHub
GitLab
Google Workspace
HubSpot
Jira
Jitsi
Linear
Microsoft Teams
Miro
Monday
Mural
Notion
Pipedrive
Productboard
Slack
Todoist
Trello
Wrike
YouTrack
Zendesk
Zoom
The list of supported integrations continues to grow as we add support for new tools.
How integrations work
The time tracking workflow is the same across all supported integrations.
Step 1
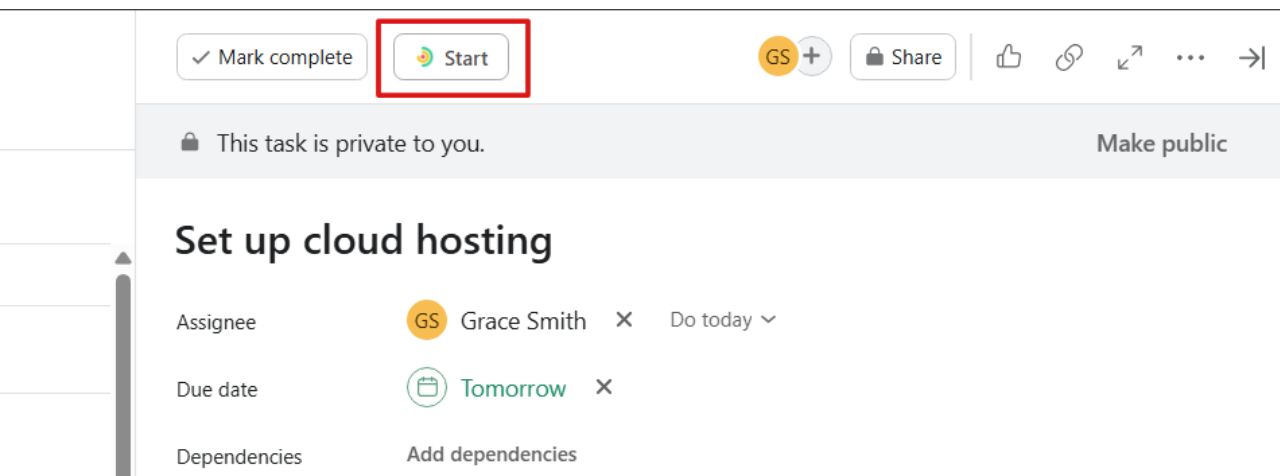
Open a supported application in your browser and navigate to the task, issue, card, ticket, or other work item you want to track.
Step 2
Hover over the item or open its details, then click the Traqq button to open the tracking window.

Depending on the application, the Traqq button may appear when you hover over an item or inside the item's details view.
Step 3
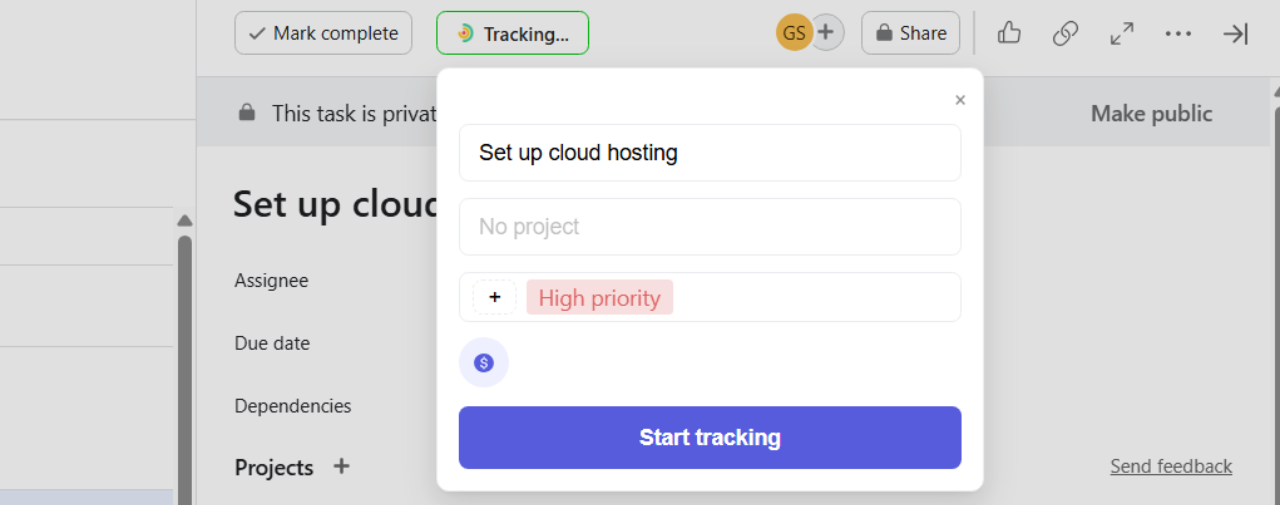
The Traqq tracking window opens where you can:
- Select a project
- Add tags if needed
- Choose whether the time entry is billable or non-billable
The task name is automatically added to the time entry and matches the title from the connected app. For example, an Asana task name or a Google Meet meeting name will be added as the task name in Traqq.
Step 4
Click Start tracking to begin.
After tracking starts, the Traqq icon in the connected app changes to Tracking.
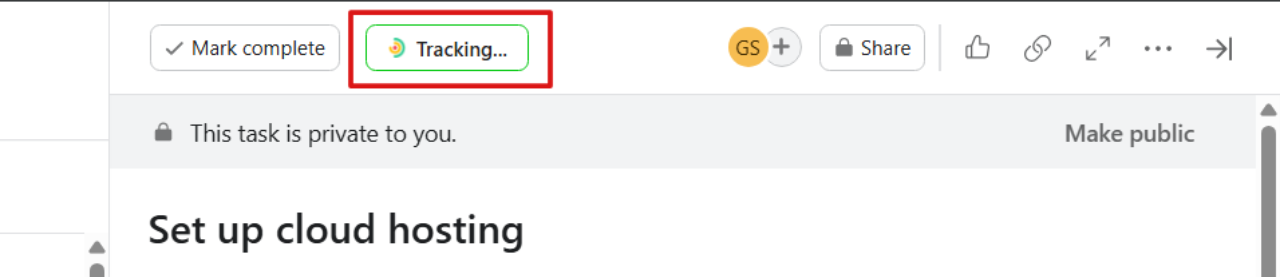
The time entry also syncs across your Traqq apps, including the browser extension, web app, and desktop app.
How to stop tracking
You can stop tracking in any of the following ways:
- - Click Tracking directly in the integrated application.
- Stop the timer from the Traqq browser extension.
- Stop the timer from the Traqq web app or desktop app. - Once you stop tracking, Traqq automatically saves the time entry to your account.